2019

I literally cannot wrap my mind around the fact that it’s 2019…and that January 2019 is almost over! We have been spending January prepping and planning away for our spring weddings. Our first wedding of the year is in February, and we can’t wait to get back at it!

2019 will be a busy one- we are fully booked wedding wise. We also have a couple styled shoots in the works for early 2019, which we are so excited about! We’re looking forward to bringing in lots of new and exciting elements into weddings we’re bringing to life this year. We are working on pulling inspiration from lots of unique places- personally, I’m getting a lot out of looking through coffee table books showcasing unique interior spaces, as well as viewing different art installations. Each month, I will be working on posting two blog posts. They will vary from month to month, but one thing that will be consistent is an inspiration post. I personally love see where other people are currently drawing inspiration, and I’d love to share with you where we are finding it!

We also are looking forward to growing the other services we offer in 2019. I’ve given Izzi the reigns on getting the interior styling side of things up and running, while I am focusing more on the wedding aspect- of course they both will overlap too, but we found that it typically works better if one person takes the lead on each thing. We also want to grow our offering of Design Board Services. For each planning or design client we work with, we create a design board. It pulls in layouts, inspiration, textures…all the details you need to pull off your vision. While we offer this to our clients that we work with directly, we also are wanting to offer this as a stand alone service that anyone, anywhere could hire us for.

We’re also really looking forward to starting to work out of a unique co-working space where we can meet with clients. While my home office has been great, it’s not somewhere I would bring clients, and I also want to start being more intentional in separating my work and home life. 2019 will be full of lots of new and exciting things. Thank you for following along with us and believing and us. We can’t wait to see where this year takes us and how it grows us!

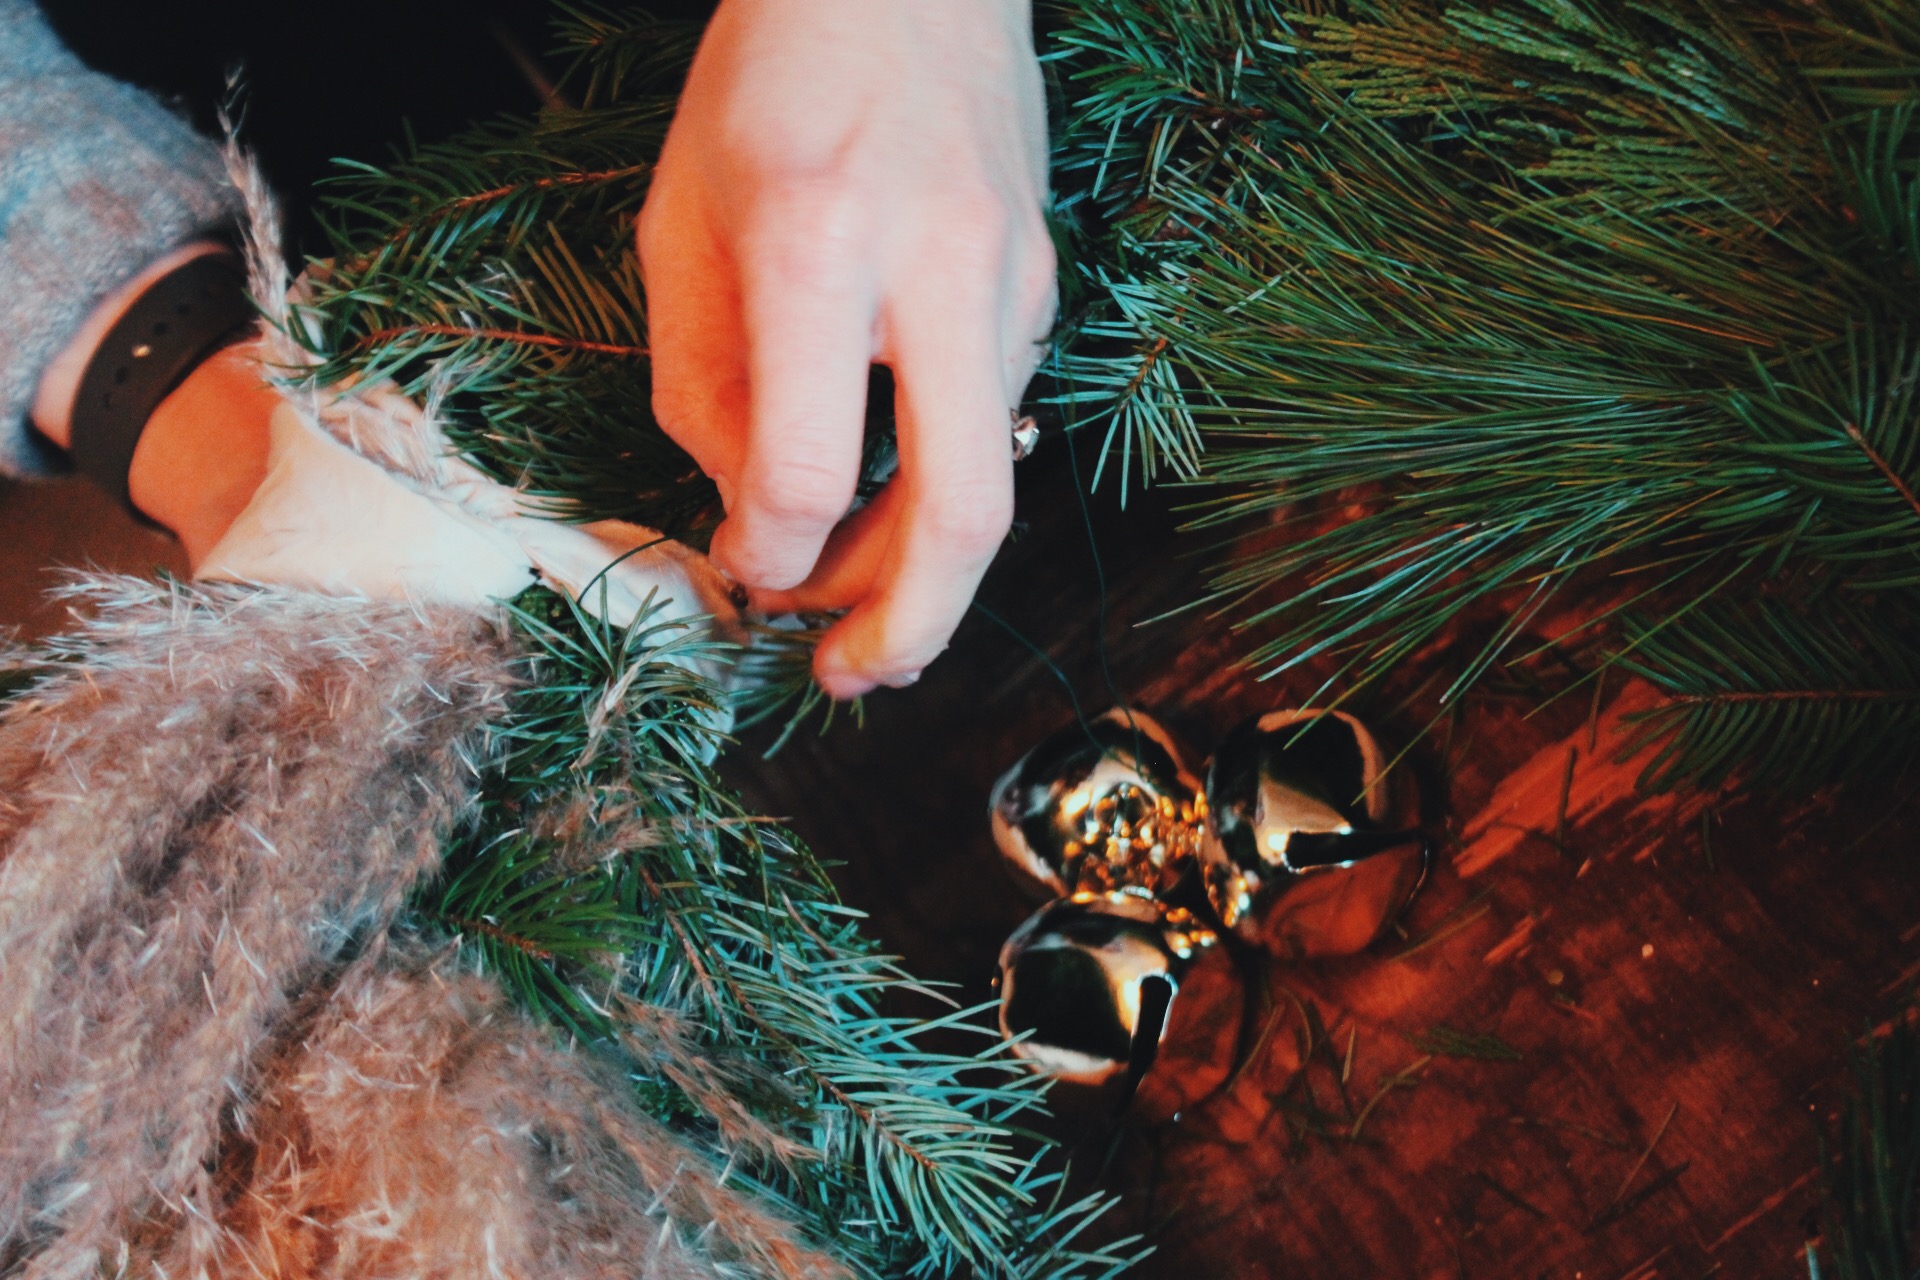
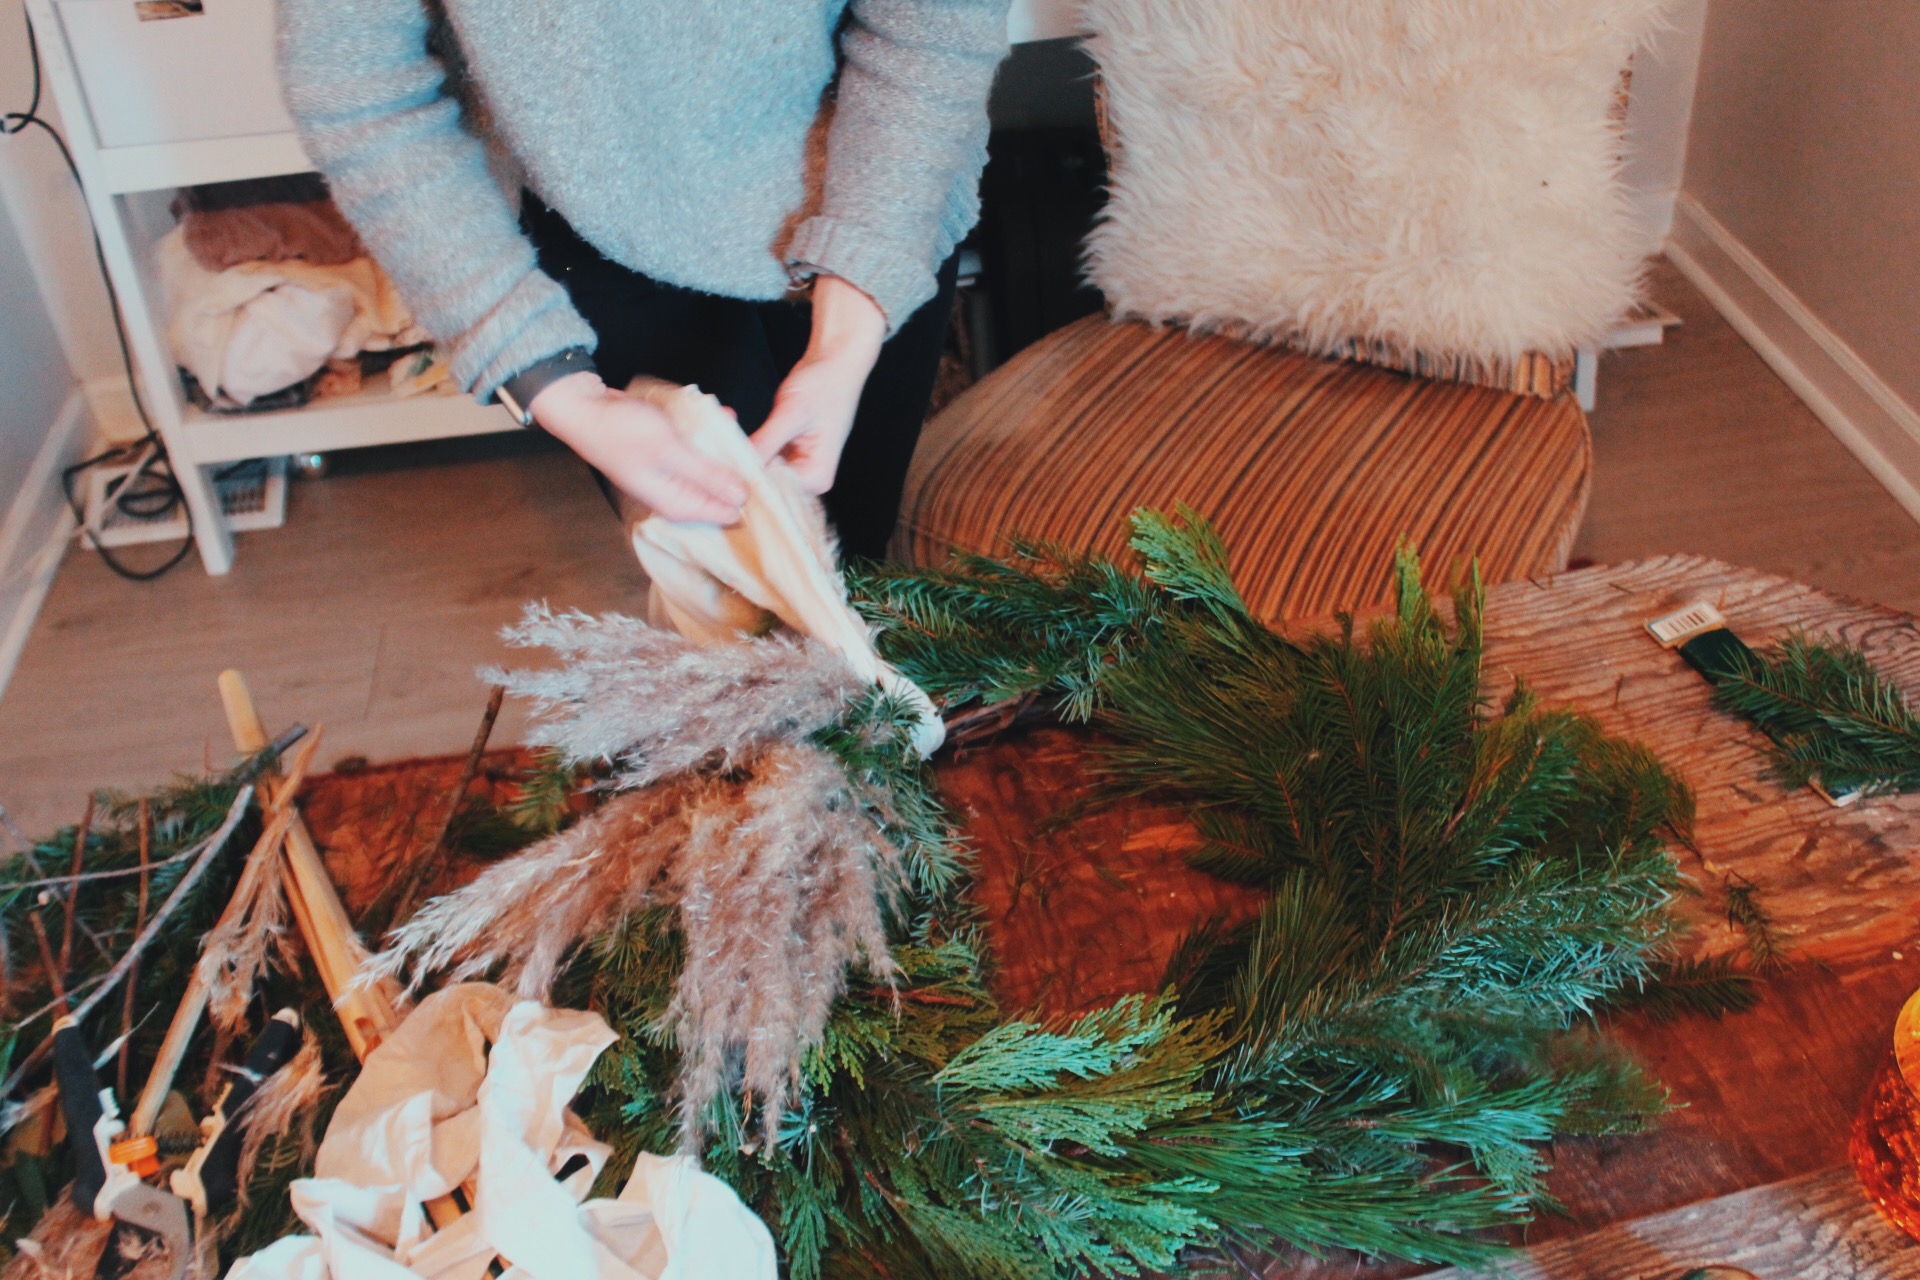
See some images below that are inspiring us this week.

p.s. Let me know if you know any of the photographers or artist these images came from- couldn’t find the credits on Pinterest!

Image via Pinterest

Image via Pinterest

This is one of my favorite interior images of late. I love how the base of the room is neutrals, but touches of color are brought in through the art and the rug. I’m a sucker for an antique portrait. I want to fill my house full of them.
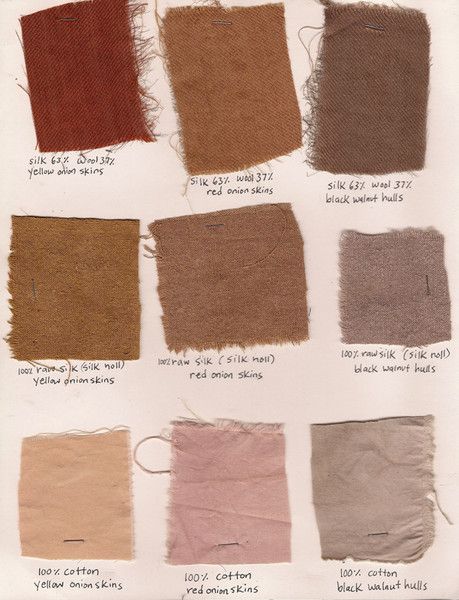
Image via Pinterest

Image via Pinterest

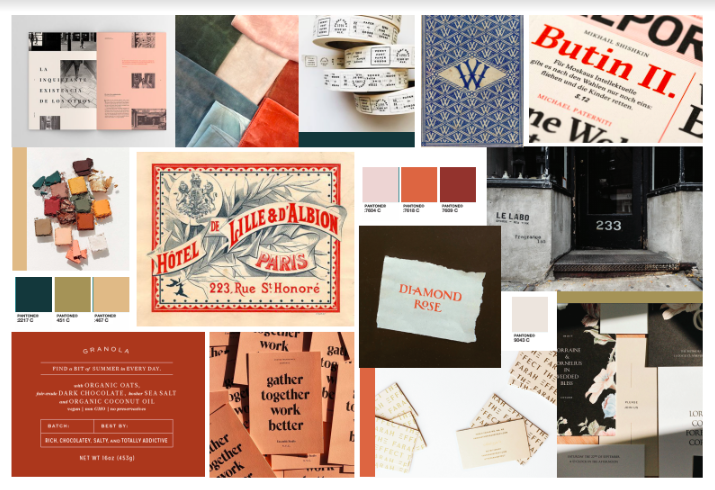
This is my go to color palette currently. I think if I was planning a wedding for myself current day, I would draw a lot of inspiration from this color palette.

Image via Pinterest

Image via Pinterest

I’ve been loving this image for a while now. I wish I could get this pattern made into a quilt or mud cloth that I could put at the foot of my bed.
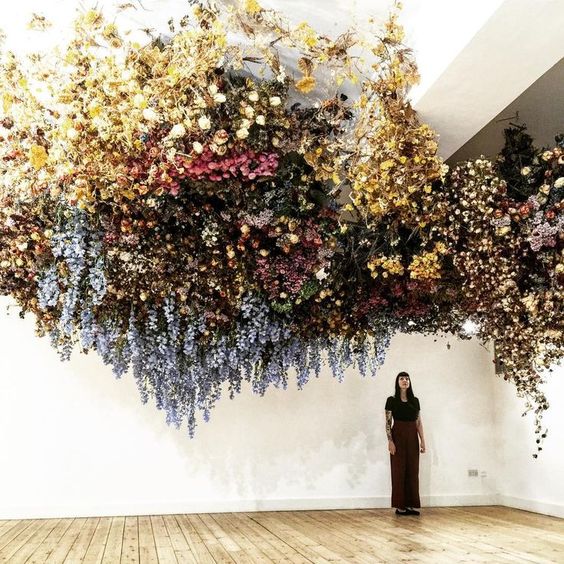
Image via Pinterest

Image via Pinterest

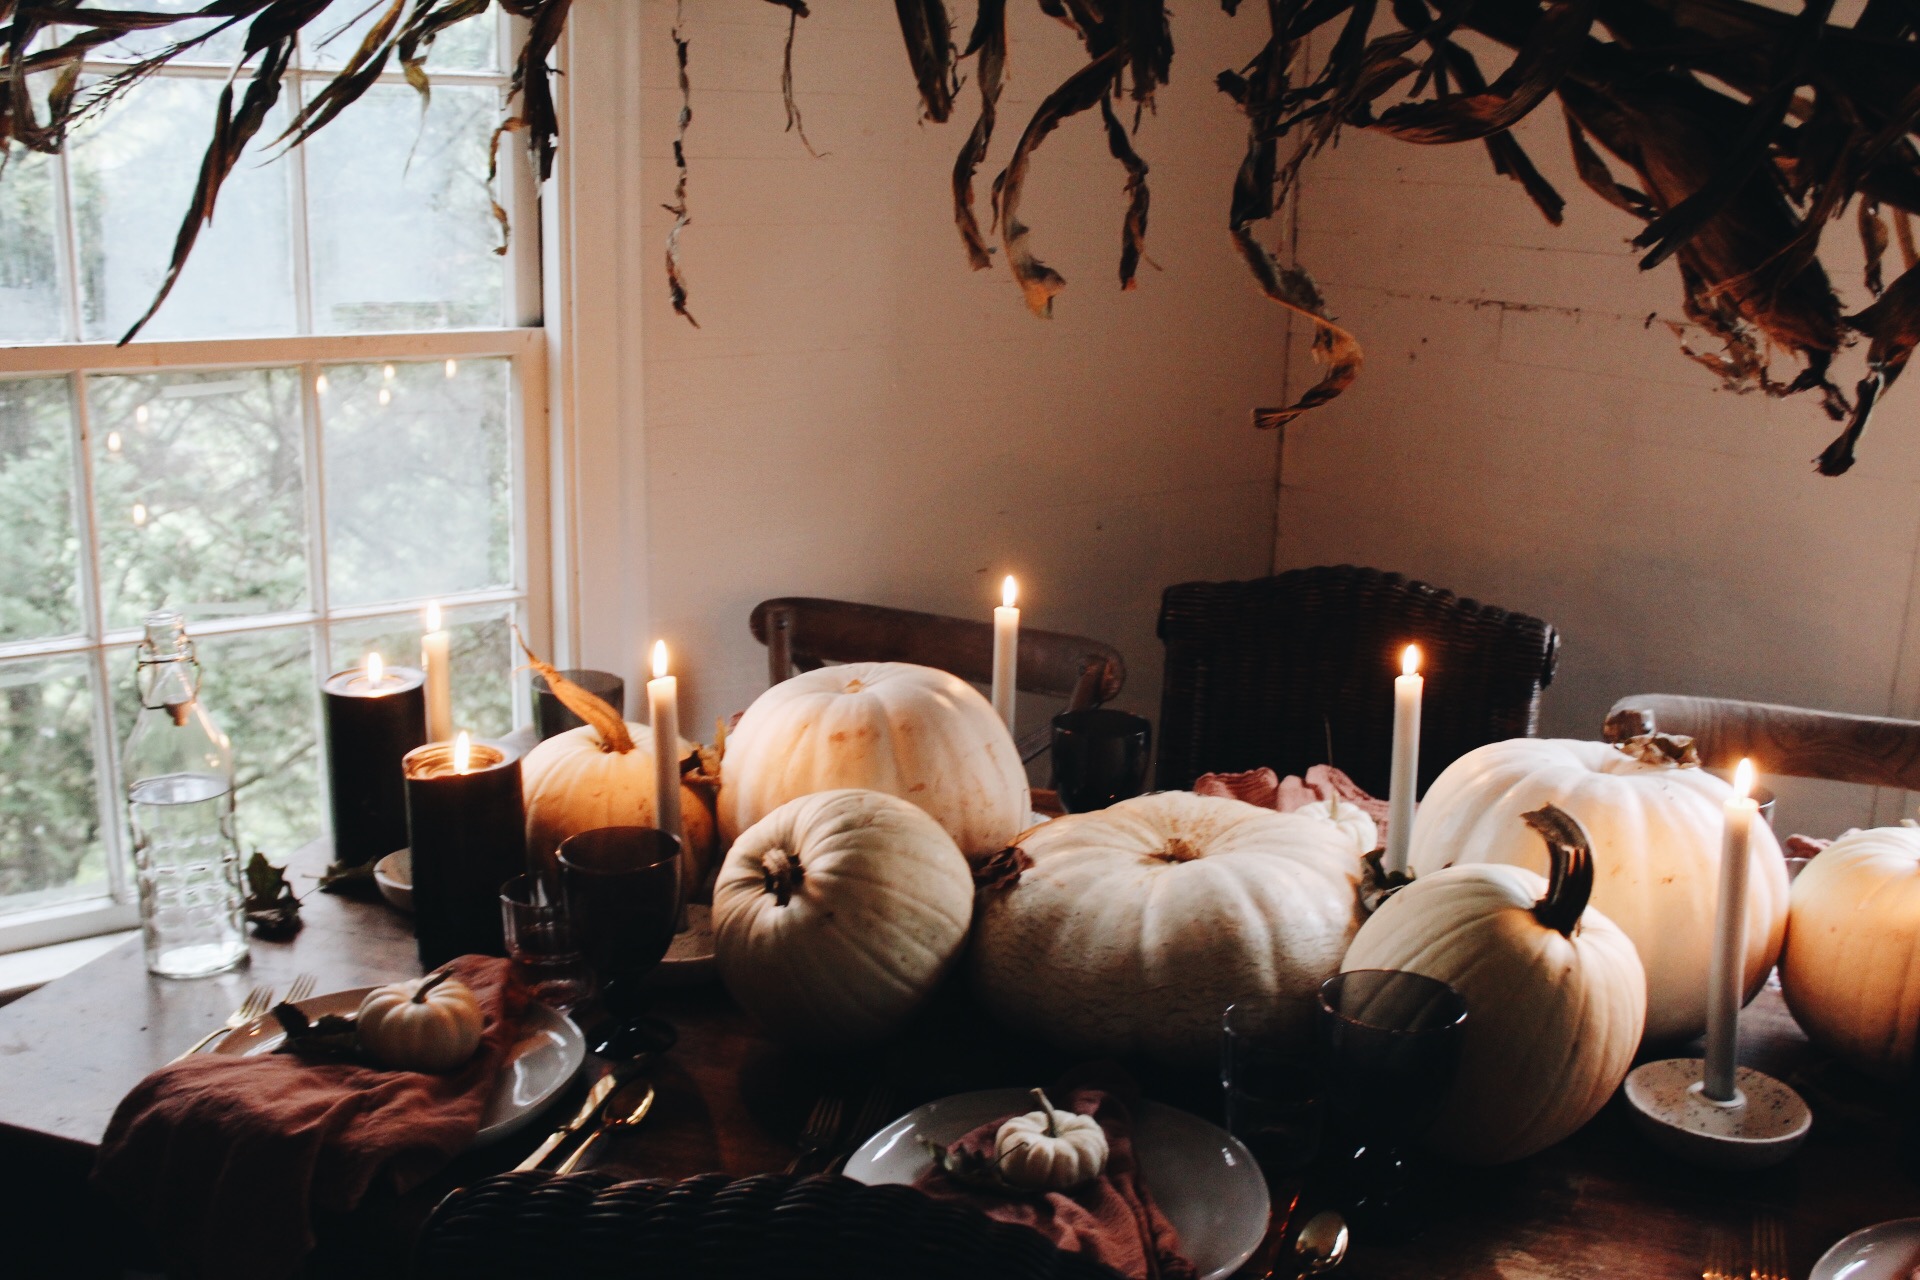
This is just too dreamy not to share. What a gorgeous floral install.

Image via Pinterest

Image via Pinterest

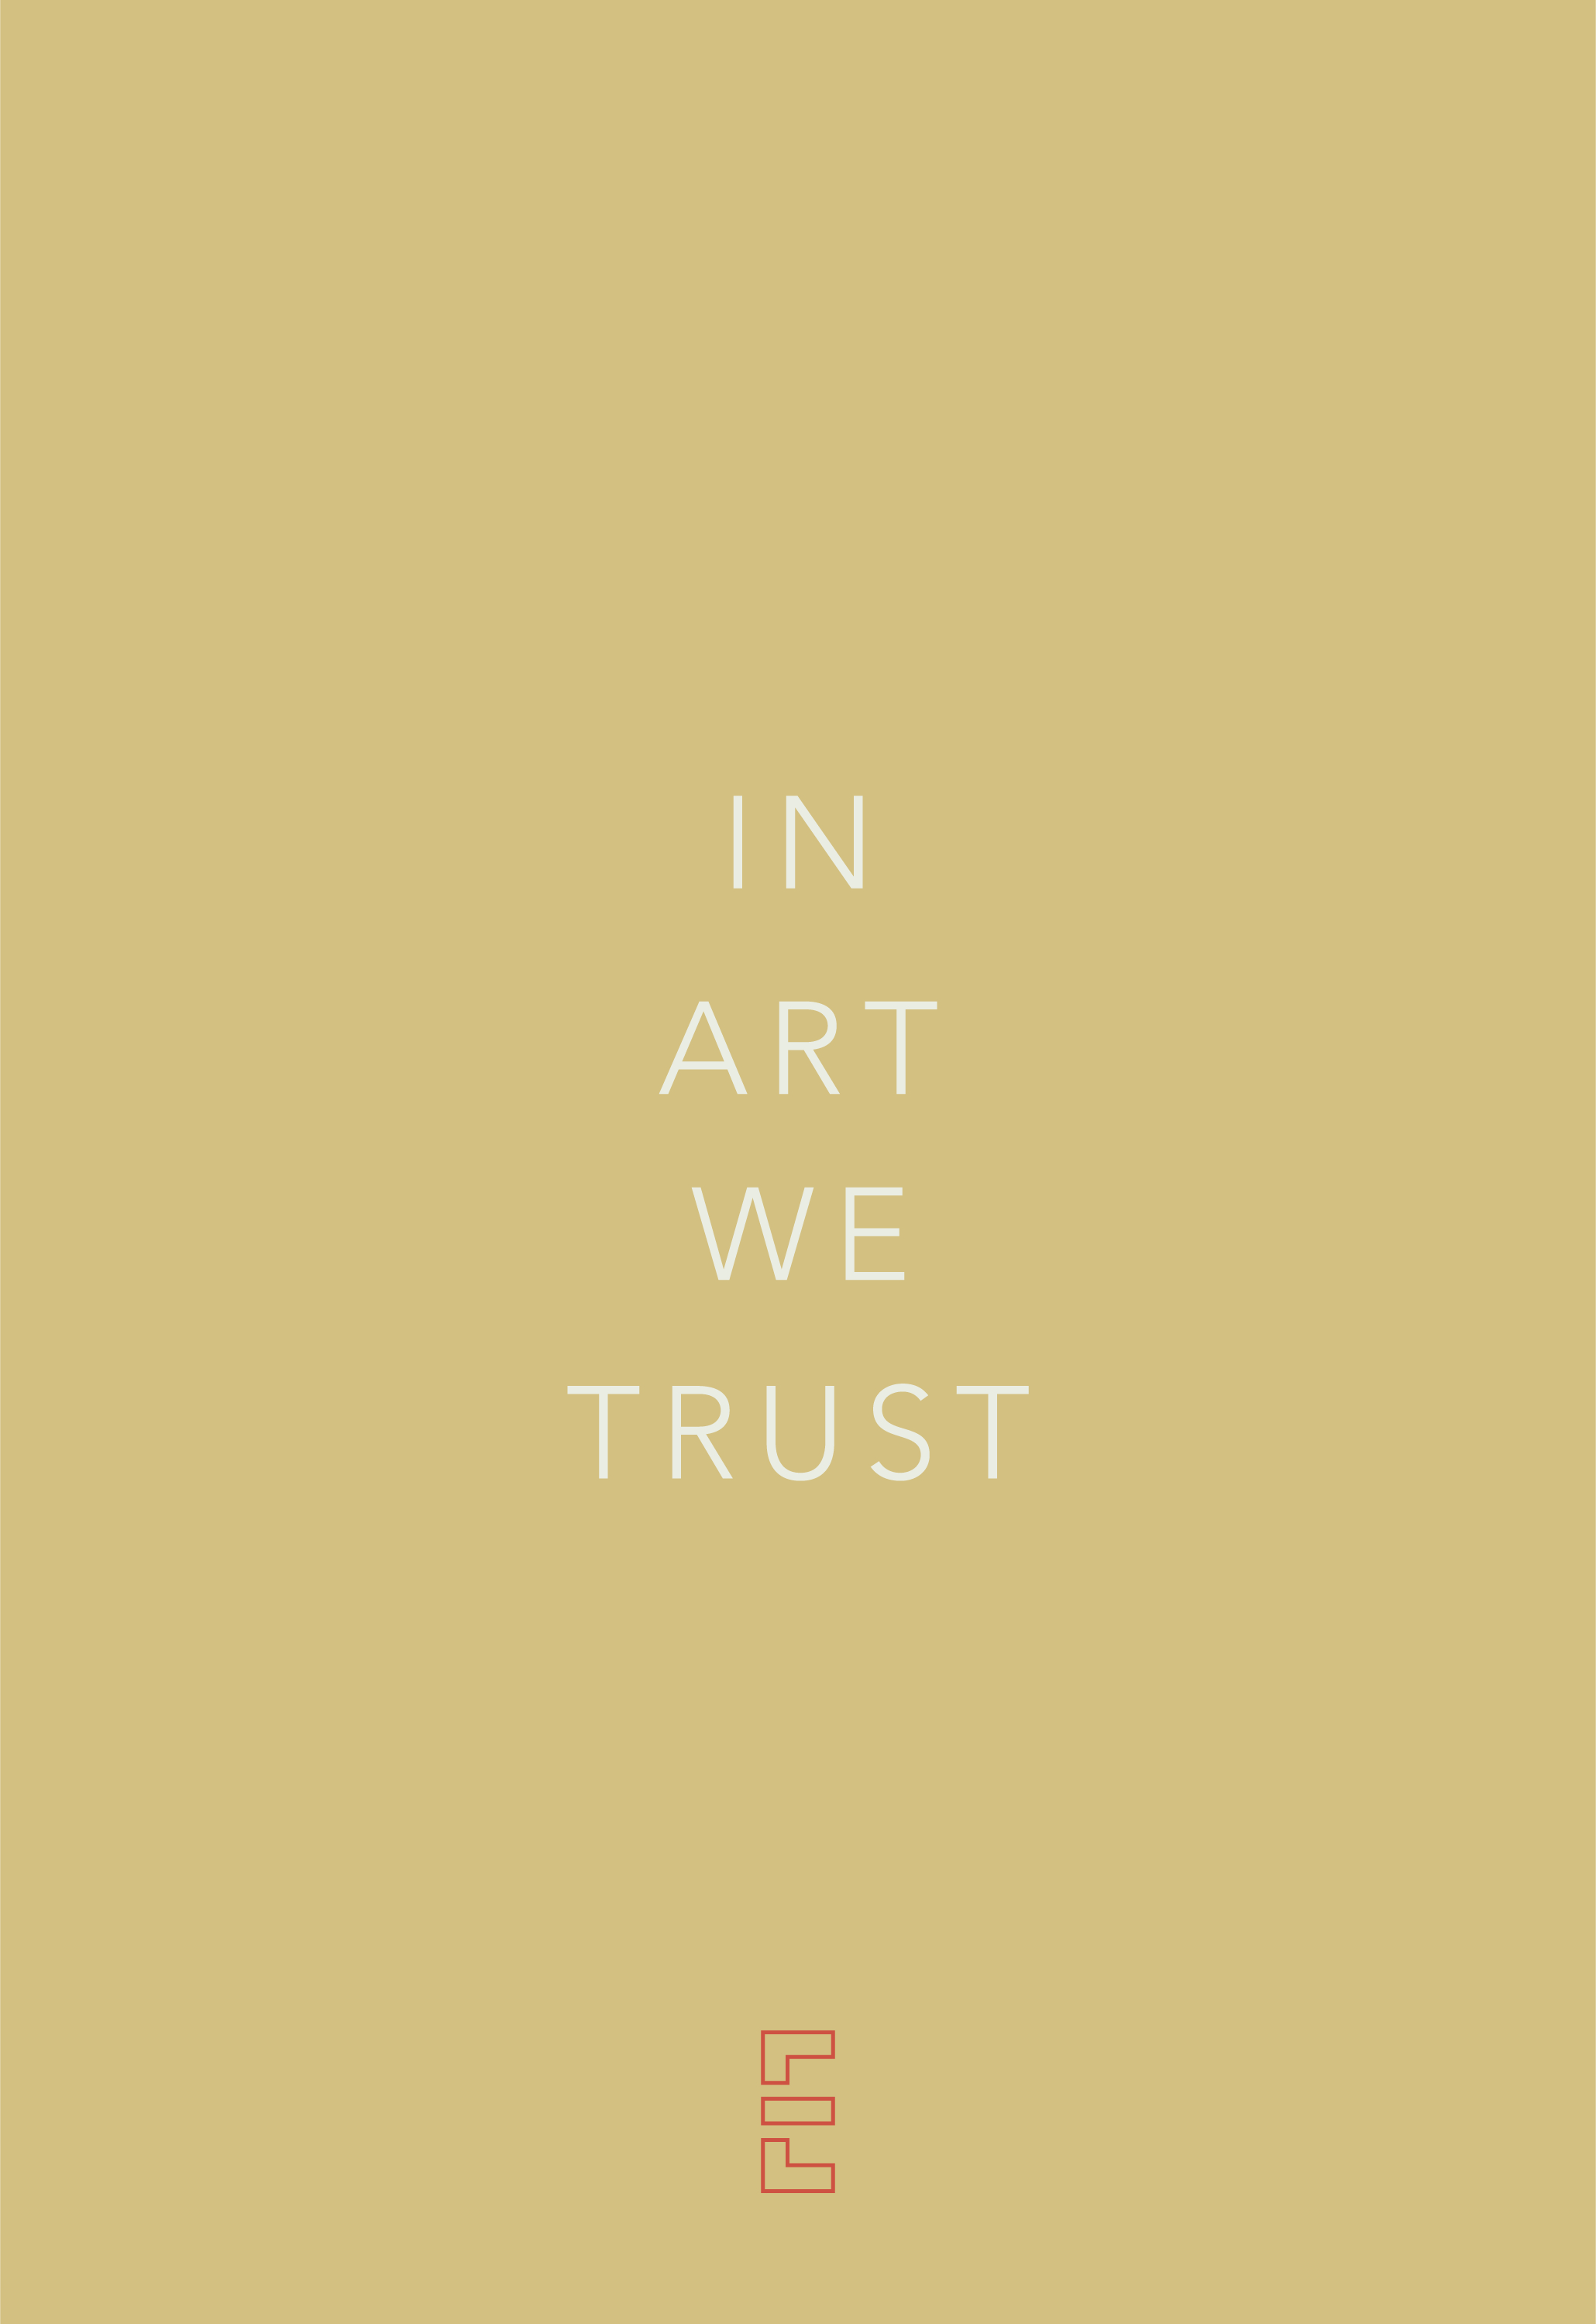
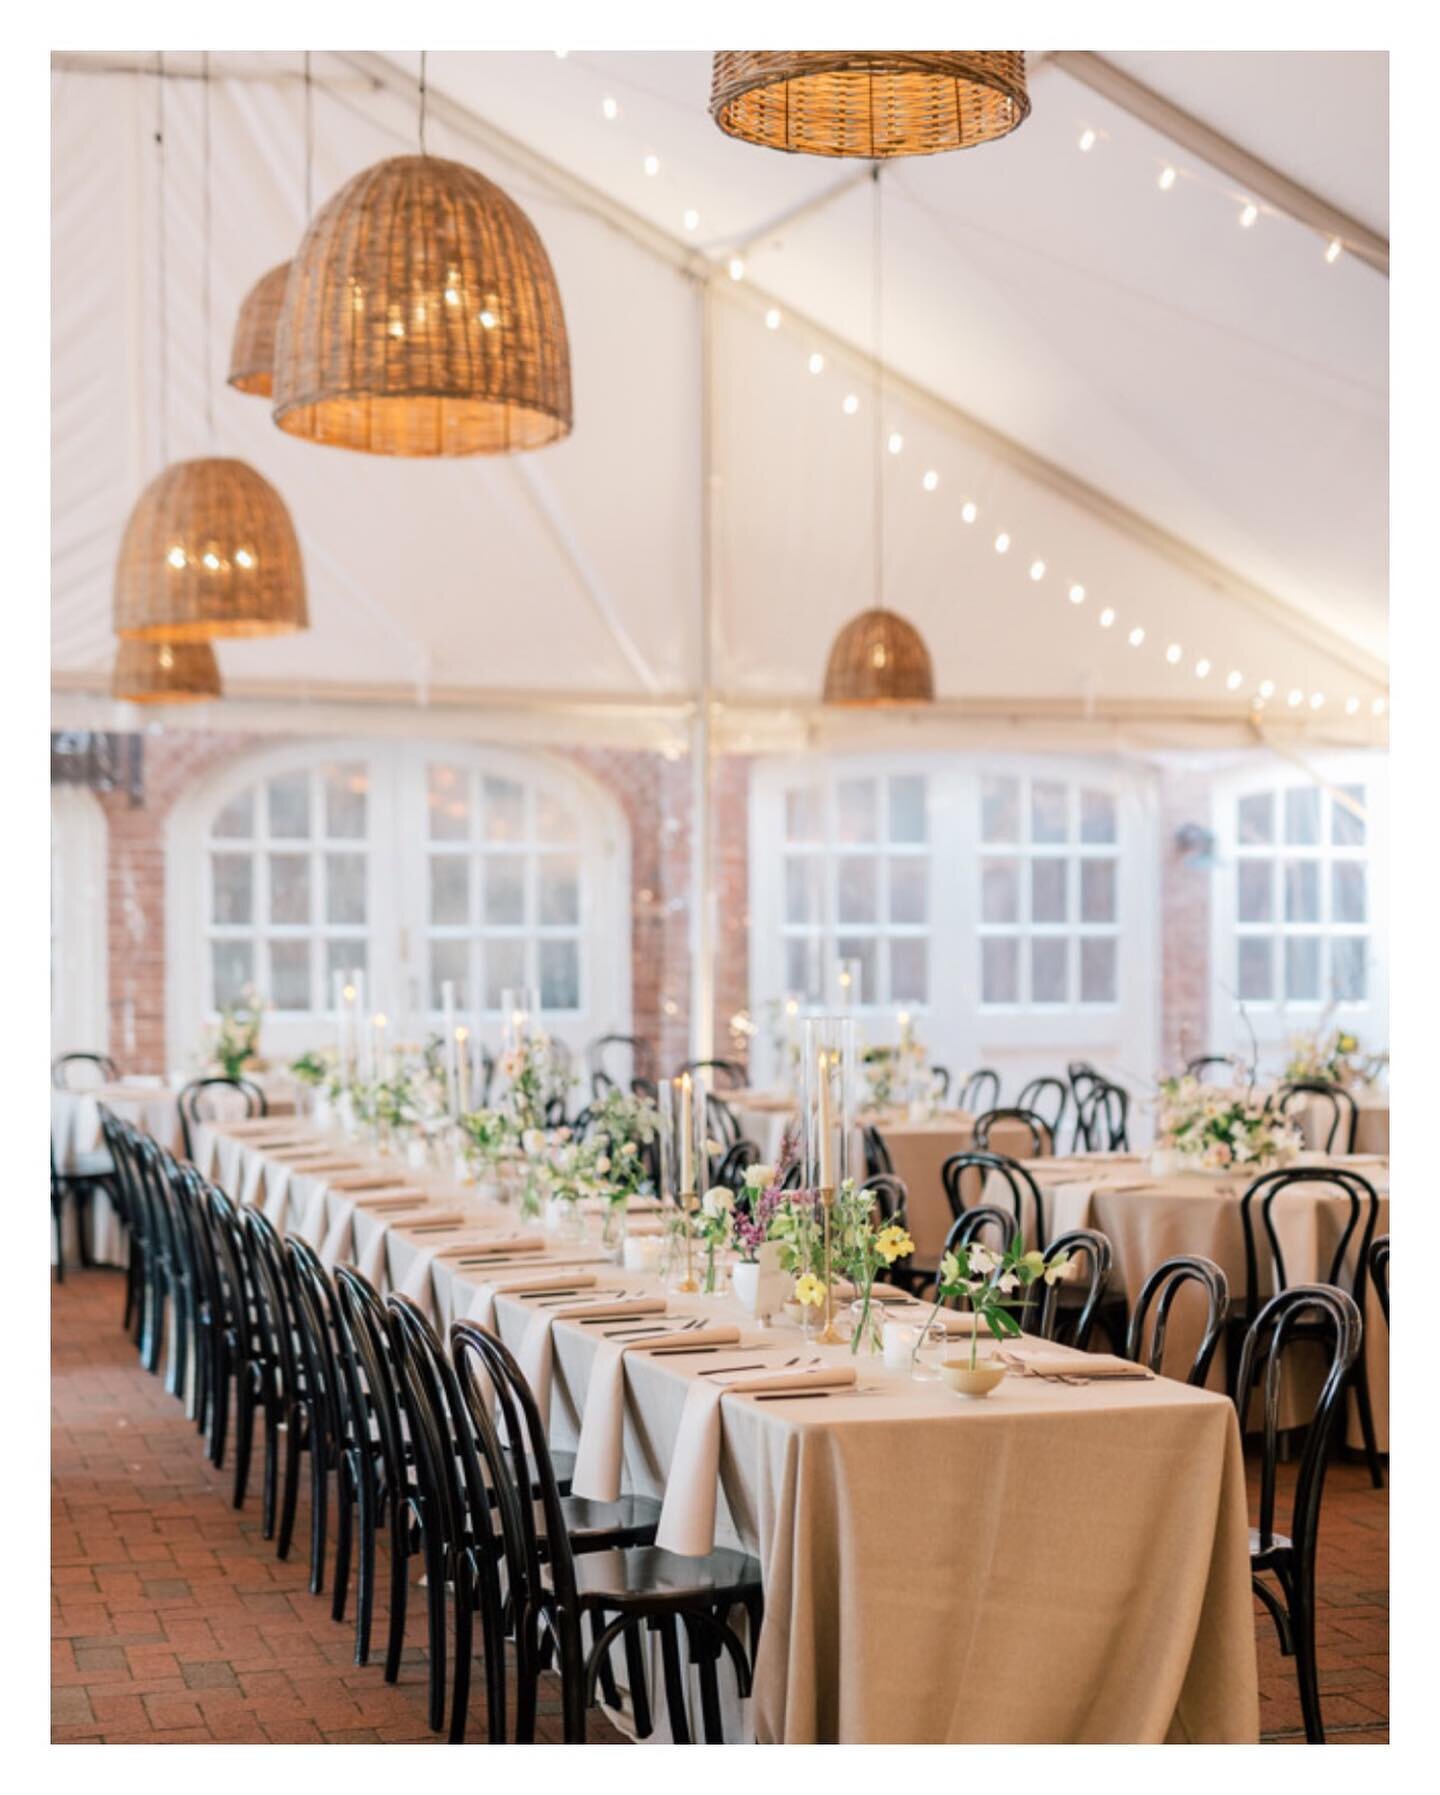
This camel-y, tamarind color is a current favorite. I love the airiness of this image and the texture of the silk.

Image via Pinterest

Image via Pinterest

Another lovely floral install- I’d love to do something like this for the right wedding client. A frame mounted on the wall with florals growing out of it.

Image via Pinterest

Image via Pinterest

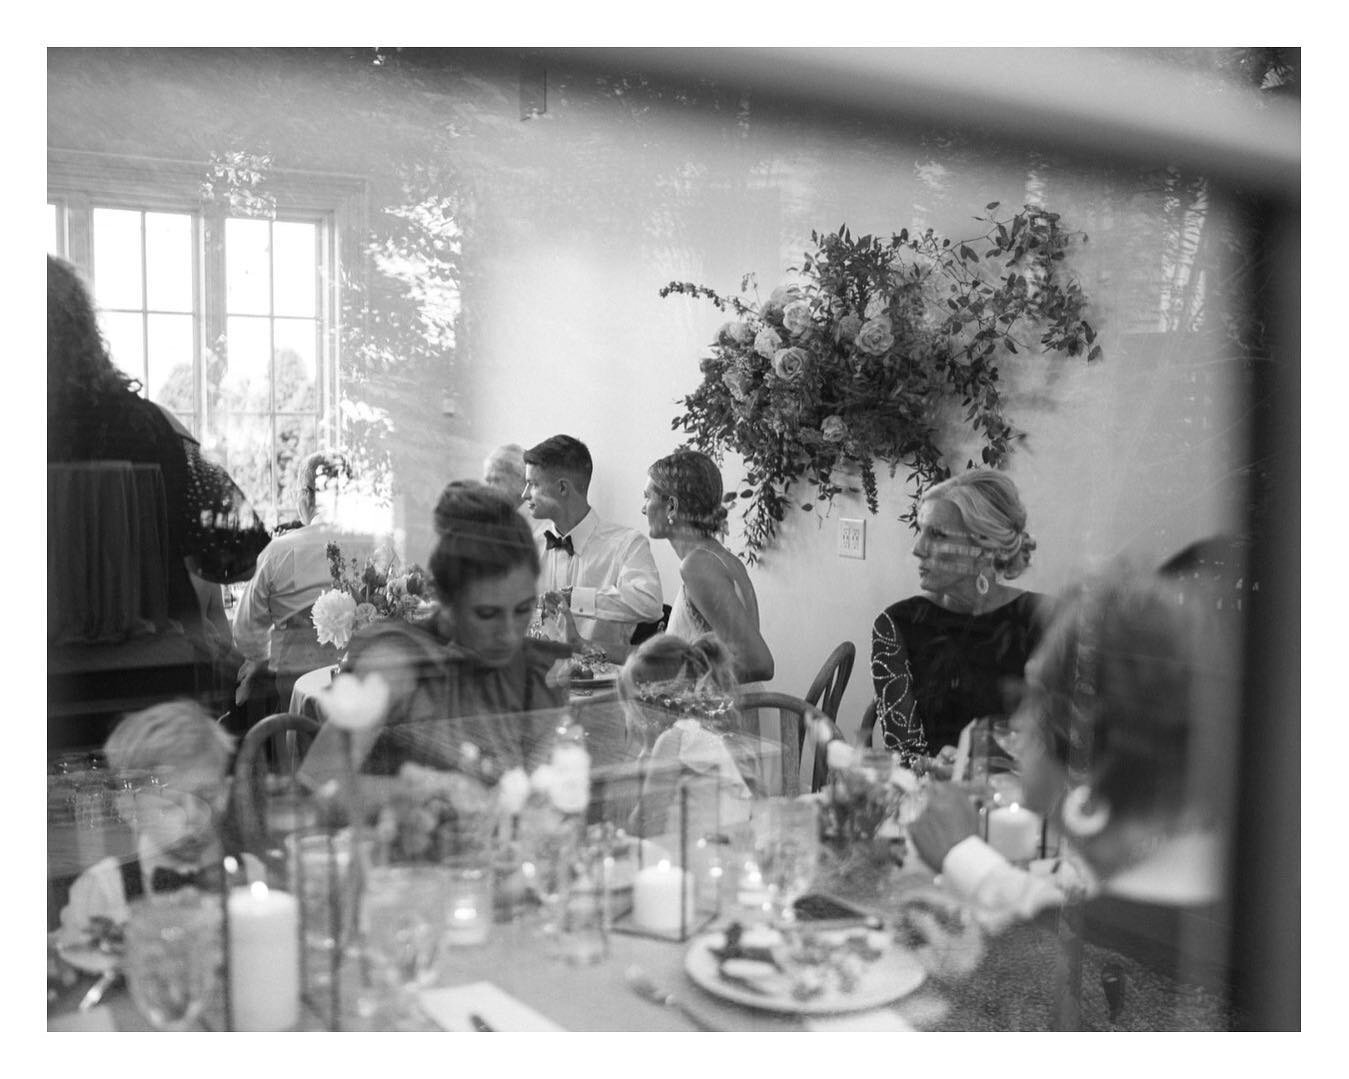
Always inspired by shadows… this shot is particularly captivating.

An Easy Holiday Wreath Tutorial

2CCA5C45-04EB-404F-94B4-ED05F6DC38C0.JPG

I took a fall wreath making class with Melissa Broadwell of Vintage Florals a couple months ago and it was FANTASTIC. Unfortunately I couldn’t attend the winter workshop, but I still needed a Holiday Wreath for my house…so I decided to give it a go and I loved how it turned out!

Supplies:

  • Grapevine Wreath - I bought mine at Michael’s for about $5.

  • Floral Wire (or a thin gold wire could be pretty!)

  • Floral Tape

  • Winter Greenery - I bought mine from Trader Joe’s , but earlier in the season you can get it out of the scrap bin at your local Home Depot- for free!

  • Pampas Grass - I had some laying around, but you can get it and other dried grasses from your local floral wholesaler. I love Import Flowers in Nashville!

  • Red Berries - I got mine from Trader Joe’s

  • Bells - I got mine from Target

  • Ribbon- I made my ribbon by ripping up some pieces of fabric I got at a local fabric store - this is actually how I always make ribbon when I need it!

STEP ONE

Wrap the grapevine wreath in floral wire. This doesn’t have to be fully wrapped in any means. The purpose is to tighten the grapevine just slightly so things will stay in it!

0994CFD8-6233-4D41-956D-FA5ED1C14613.JPG

STEP TWO

Start putting in your greenery. For mine, I went in a counter clockwise pattern- you can do whatever you want! I cut my pieces down a little bit so they would fit in better. Tuck the greenery into the grapevine so it stays in.

211F241B-ECED-4D51-80DF-AD1D22ED8659.JPG

STEP THREE

Trim the greenery. You’ll have some wild pieces. Don’t be afraid to trim it up to get the shape you want! Special appearance by our cat, Pig.

08A644D0-212C-4E8B-81EB-505A8DF1173C.JPG

STEP FOUR

Add in your Pampas Grass. One stem of Pampas Grass should be plenty. You will want to pull it apart a little to find the smaller stems within it. If you are having trouble finding stems, you can always use your floral wire or floral tape to hold smaller pieces together. I just did mine to one side, but you can integrate it into the whole wreath if you’d like! You can also use other dried grasses if Pampas Grass isn’t for you.

7E88CB74-3ED7-4C53-8E48-D7B66C583724.JPG

STEP FIVE

Add your bells. I decided to use three bells. I took a longer piece of floral wire and strung all three bells on it. I then twisted the wire together at the base of the bells to form a cluster. Next, I stuck the wire through the wreath and twisted it together in the back.

578FA3A0-4142-4443-9AC0-ACBB8A62031C.JPG

STEP SIX

Add your ribbon. I used two, semi-wide pieces and simply just tied it once around the base of the Pampas Grass.

19A36053-7275-4F73-B956-449C3714F7FB.JPG

STEP SEVEN

Add in the Red Berries

C4E2279F-A963-48D8-BC32-FED5DF2434FF.JPG

And Voila! Your wreath is complete. You can get creative and mix this up any way you want! You don’t even have to cover all the grapevine in greenery if you don’t want to. I can’t wait to see how you guys get creative with your wreaths! Be sure to tag us if you make one. Merry Christmas and Happy Holidays <3

3861FC40-0056-455F-9FF6-8F998FA57461.jpg


All About the Rebrand

7B Mission Sq.jpg

I made the decision to rebrand Alexandrea Cantrell Events to The New Eclectic a little over a year ago.  However, it took a while for me to decide how I wanted this transition to go.  As soon as I made the decision to fully rebrand, I knew I would need some help.  I had ideas in my mind of what I wanted it to look like, but I didn’t really know how to get it there.  I also didn’t really know where to start or what all actually went into creating a brand.

I started looking around at different branding agencies, but nothing really felt right.  That’s when I remembered about Laura Bennett.  Laura and I went to college together, and I have always admired her for her attention to detail and her creativity.  She has worked for several VERY successful companies post college- including Nike and Disney, and ventured out on her own not too long ago by starting Laura Bennett Design.  She is based out of LA, but can work with people anywhere. 

Laura and I had an initial phone call- I told her a little about my vision, which wasn’t a lot because I had really thought about was color palette and logo, and I also created a mood board of sorts to share with her so that she could get a feel for what I was drawn to and the type of client I wanted to attract with The New Eclectic.

We started with an inspiration board.  It pulled together colors, typefaces and other elements I had seen around that were really catching my attention.  After solidifying the inspiration board and color palette, we moved on to the logo. I wanted something that felt timeless, but was also really unique and different.

Screen Shot 2018-11-14 at 1.47.31 PM.png

Laura presented me with with several ideas, and then we refined and sifted through until we settled on one that we felt would be a good depiction of where I wanted to go with all of this. Laura was SO helpful. I felt so blind going into this, and it’s almost like she read my mind.  She interpreted the very little information I felt like I was giving her, and created an end product that I am so in love with. 

I got really caught up on the logo- because it’s easy to think logo is everything, but in reality, it’s really just a small part of your brand.  Laura presented me with SO MANY different brand elements that I can keep integrating and using in my business for years to come.  She provided me with so much content and so many elements to help me stretch and promote my business in different ways.  

Laura provided me with so many details to incorporate into my brand- from fonts to Instagram story covers, she thought of it all. She pays so much attention to detail and literally thought of everything!

All this to say- if you are looking for someone to help you brand your business and bring your vision to life, Laura is amazing.  She will walk you through the process and provide you with an end product that will blow you away.  I am so happy that I decided to go with Laura and can’t wait to use her for projects in the future. See a small snippet of the content she provided me below:

Logo Outline_low.jpg
15B In Art We Trust.jpg
14B The Art of.jpg
13B E Icon Photo.jpg
12A Dry Brush.jpg
11B Logo Repeat.jpg
10B Pattern.jpg
9B Pattern.jpg
8D Alt Logo.jpg
8E Alt Logo.jpg
7A Vision.jpg
6B Keywords.jpg
6A Services.jpg

A Simply Spooky Halloween Table Set Up

8A7057B9-995D-4CA5-A0F5-5CC01944376D.JPG

One of my favorite things to do is to gather around the table with friends and enjoy a meal- it’s just a plus if the table happens to be a really pretty one. When thinking about what we wanted to do for this table scape and where we wanted it to be, we knew that we wanted to try our best to keep it simple and practical.

My parents live in an early 1900s house in Brentwood. There house has a lot of history and I’ve always loved that about it. Many of their neighbors houses are the same way. In the 1800s the land the houses are on now was originally owned by one person and it was a large farm, the land has since been broken into smaller slices of land, but slices large enough that it still feels like you are out in the country. Many of the houses on their street have small houses in the backyards which were originally used to house people who worked on the original property. Many are now run down- the one in my parents yard, for example, has been used for storage for many years.

One Halloween when I was younger, the parents all made mini haunted houses in these small houses in their backyards. All the kids hopped on a trailer that was hooked to a four wheeler and went from “haunted” house to “haunted” house. I always think about that experience around Halloween time, and all the nostalgia comes rushing in… the childhood memories, the history of the homes, all of it.

When I was thinking about this shoot, I knew I wanted to clear out the little house in my parents back yard and use it. I felt like it was the perfect setting for a halloween inspired dinner.

I knew I wanted to have some type of hanging installation over the table- My original idea was branches with leaves that were changing colors, but Tennessee’s leaves aren’t doing much color changing yet. Then I thought of corn stalks. I arranged two bundles of corn stalks in an organic, asymmetrical formation and suspended them from the ceiling. I was really pleased with how it all turned out.

I knew from the start that I didn’t want to use flowers for this shoot, and pumpkins seemed like the perfect, appropriate substitute. I used only white pumpkins in varying sizes to almost act as a runner for the table. I also used a single, small white pumpkin at each place setting.

The plates, water glasses, wine glasses, candles, and candle holders all came from Target. I chose the plates because I loved the hand made feel of them. The black wine glasses (which aren’t actually the glasses I decided to use for wine) are also a favorite. They are funky (I love a little bit of funk) and a nice change from the traditional wine glass. The water glasses ( which are holding wine ) are also a new favorite. I love using them in my house because they stack for storage, they are a good size, and I love the shape…I also really loved them as a wine glass. The black speckled taper candle holders had a bit of a spooky look to me and I wanted to incorporate them somehow. They also add a bit of a modern twist, which I’m a fan of. I always love using as much candle light as possible. It just makes everything feel better.

The flatware is vintage from the local flea market, and the napkins are flour sack towels that I hand dyed with Ritt dye. I love mixing different dyes to get the colors I want. Flour sack towels absorb the dye really well and can be used for lots of things. I use them for napkins, hand towels, dishtowels, etc. For the color of the napkins- I mixed Tangerine and Dark Brown dyes. I can do a tutorial on this later. It’s super simple! I also gathered a few leaves from around the yard that were showing a bit of color and placed one at each place setting, and a few scattered on the table and in the pumpkins. The chairs and table were ones that we had.

This table was simple to put together and would provide a great stage to come together with some loved ones for a Halloween or Fall dinner. Be sure to tag us on Instagram (@theneweclectic) if you decide to incorporate any of these tips into your Halloween or fall tables!

B399401E-B1EC-4897-892C-9AE9D285C8C4.JPG
5691E9BF-5FE8-41FE-B539-274F383CB950.JPG
FDBB7F40-7864-4A75-AABB-1756EFF59317.JPG
C239AEEC-094B-4727-8E61-87802A44DFD8.JPG
381362F7-6343-4626-8C75-60520B98E7E3.JPG
2552F758-4087-4164-9FCD-0647313E4A4C.JPG
AD9F10C5-4DD4-41E9-82A1-5C3088D998C8.JPG
4DA34C1B-2C7D-4DDE-B288-B1D8F2240F91.JPG